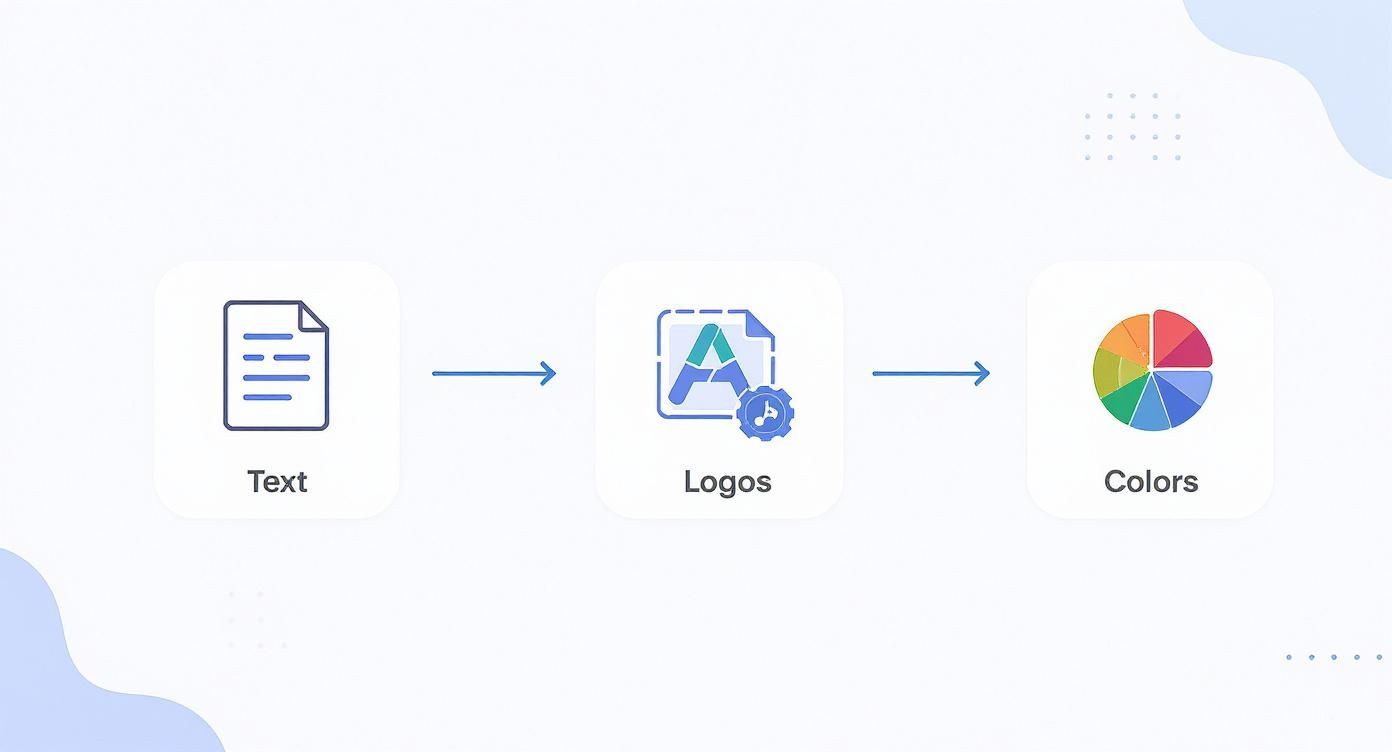
So, you've got a cool new animation template and you're ready to make something amazing. Awesome! Using a template is basically a three-step dance: open the project file, swap in your own stuff to make it yours, and then export the final video. All the hard work is already done—now it's your turn to add your creative flair.
Getting Started Without Getting Overwhelmed

Opening a professional animation template for the first time can feel a bit like looking at the cockpit of an airplane. You see the slick final video, but the project file itself can be a maze of layers and folders. Where do you even begin? The good news is, most templates are built with a simple, logical structure.
The very first thing you should do is a quick "pre-flight check." This just means making sure you have all the right software and special effects plugins installed before you even try to open the project. Trust me, this one small step will save you from a ton of headaches later.
Software and Plugin Compatibility Checklist
Here's a quick cheat sheet to make sure you have the right tools for the job.
| Template Type | You'll Need This Software | Common Add-Ons (Plugins) | Great For Making… |
|---|---|---|---|
| Motion Graphics | Adobe After Effects | Element 3D, Trapcode Suite, Optical Flares | Intros, logos, titles, and cool charts |
| 3D Scenes & Logos | Blender or Cinema 4D | None (usually built-in) | Product mockups, fancy 3D text, CGI scenes |
| Simple Video Edits | Adobe Premiere Pro | None (usually MOGRT files) | Social media posts, lower thirds, basic slideshows |
Having the right software is a must, and checking for required plugins will help you avoid those annoying "missing effect" errors that can stop you in your tracks.
Your Pre-Flight Checklist
Before you jump in, let’s run through the essentials. Getting this right from the start makes everything else way easier.
- The Right Software: First things first, you need the program the template was made for, whether that’s After Effects, Blender, or Cinema 4D. No shortcuts here!
- Essential Plugins: Many cool templates use extra tools called plugins for fancy effects like 3D text. The template’s description will always tell you what you need, so make sure to install them beforehand.
- Fonts: Great design often uses specific fonts. Look for a text file in the template folder with download links (they’re usually free from places like Google Fonts). Install these before opening the project, or your text will look all wrong.
Once you’ve got your software, plugins, and fonts ready, it's time to open up the project. When you unzip the download, take a second to look at the folders. You’ll almost always see separate folders for the project files, your assets (like images), and a help document.
The most important folder is usually labeled "Edit Here" or "Main Compositions." Think of this as your control panel. All the important customization stuff will be neatly organized for you right here.
Templates are a huge deal in the creative world, and not just for videos. For example, over 94% of website templates are now built to be "responsive," which means they look great on any device, from a phone to a giant monitor. People love them because they let you create pro-level stuff without having to start from scratch.
For a deeper dive into editing basics, check out our guide at https://www.priyansh.net/video-editing-tips-for-beginners/. To see how new tools are changing the game, take a look at an ultimate guide to AI video creation.
Making the Template Your Own
Alright, you’ve got the template open and you know where things are. Now for the really fun part! This is where you take a cool pre-made design and turn it into something that’s 100% you. It’s all about swapping out the placeholder stuff and injecting your own brand and personality.
Think of it like moving into a new apartment. The layout is already there, but you're the one who paints the walls, hangs up posters, and arranges the furniture. That’s exactly what we’re doing here—making the space feel like home.
Swapping Out Text and Graphics
The first and most obvious change is updating the text and logos. In a well-made template, the designer has already done the hard part by putting all the editable bits in one easy-to-find place. All you have to do is find it and drop your stuff in.
- For Text: In a program like After Effects, you'll usually see a section clearly labeled something like "Text Here" or "Edit Text." Just double-click on it, find the text layers, and start typing. It’s usually that simple.
- For Logos and Graphics: You’ll find a similar setup for images. Look for a placeholder called "Your Logo Here" or "Image Placeholder." Drag your own logo or graphic into this spot, resize it to fit, and watch as the template magically updates it everywhere.
A good template is designed to be easy to use—you shouldn't have to hunt through hundreds of layers. The goal is to get you creating, not digging. To see some great examples of how this is done, check out these After Effects intro templates and see how they're structured.
Mastering Colors to Match Your Brand
Color is everything when it comes to branding. The template might look awesome in blue and white, but if your brand is all about orange and black, you need to make it match. Luckily, most templates have a central color control system to make this super easy.
In After Effects, look for a special "Color Control" layer, often sitting right at the top of the main project. This layer usually has simple sliders or color pickers that let you change the main colors across the entire project in just a few clicks.
If you're working with a 3D template in Blender or Cinema 4D, you’ll be changing the materials. Think of materials as the "paint" and "texture" on a 3D object. Just select an object, find its material settings, and start playing with the color, reflections, and texture. It sounds technical, but it’s really just like picking a new paint job for a digital car.
The goal here is to make your video feel like it truly belongs to your brand. When people see it, the colors should be so on-point that they instantly think of you.
Once you get the hang of one template, you’ll find that skill is useful everywhere. For example, learning to adapt podcast shownotes templates for different episodes uses the same creative muscle. It's all about taking a great starting point and making it perfect for your needs.
Controlling the Animation and Timing
You’ve nailed the look—the text is perfect, the logo is in place, and the colors are on-brand. Now it’s time to play with the motion. The timing and rhythm of an animation are what make it feel truly alive. This is where you become the director, setting the pace to match your message or music.
Think of the timeline in your software as your conductor's baton. Every little diamond-shaped marker, called a keyframe, tells an object when to move, stop, or change. Your job is to make sure everything moves in perfect harmony.
This handy infographic gives you a quick overview of the whole process. As you can see, adjusting the timing is the final layer of polish after all your main assets are in place.
With text, graphics, and colors sorted, you're ready to master the animation's pacing.
Adjusting Keyframes and Scene Duration
So, what if you need a scene to last a few seconds longer to match a voiceover? In After Effects, it's all about moving the keyframes on your timeline. These are the markers that define the start and end of any animation.
To make a scene longer, just find the group of keyframes for that animation, select them, and drag them further down the timeline. This gives the motion more time to play out, which slows it down. Just be careful not to create weird pauses—the goal is always smooth, natural movement.
The real secret to pro-level timing isn't just dragging keyframes. It's about using "ease-in" and "ease-out" effects, which make movements feel smooth and organic instead of stiff and robotic.
For more advanced speed tricks, like creating a slow-motion effect or speeding up just one part of a clip, you'll need a more powerful tool. To get the hang of it, check out our deep-dive guide on how to use time remapping. It’s a game-changer for getting total control over speed.
Reordering Scenes in Blender and Cinema 4D
Sometimes the timing inside a scene is perfect, but the overall order feels wrong. Maybe Scene 3 would have more impact if it came before Scene 2. In 3D programs like Blender or Cinema 4D, this is pretty easy to do.
- In Blender, the simplest way is to use the Video Sequence Editor (VSE). First, render each of your scenes as a separate video clip. Then, you can drop them into the VSE and shuffle them around just like you would in a normal video editor. It's a great way to experiment with the story's flow.
- In Cinema 4D, the Takes System is your best friend. This feature lets you create multiple versions or scene orders all within the same project. It’s perfect for trying out different sequences without having to copy your entire project file.
By getting comfortable with the timeline, you’re doing more than just filling in a template. You’re taking full creative control and making the project truly yours.
Getting Your Masterpiece Out to the World
https://www.youtube.com/embed/_maufW_kuFk
Alright, you did it! You’ve put in the creative work, dialed in the text, tweaked the colors, and nailed the timing. Now for the final, most satisfying step: rendering your project so you can share it with everyone.
"Rendering" is just a fancy word for turning your complex project file into a single, polished video that can play anywhere—on a phone, a laptop, or a smart TV. Think of your project file as the recipe; rendering is the process of actually baking the cake.
Your Most Important Choice: The Codec
When you hit that export button, you'll see a bunch of technical-looking options. Don't worry about most of them. The most important setting is the codec, which is just the technology used to shrink your video into a file that’s easy to share.
You'll mainly see two options: H.264 and ProRes.
-
H.264 (usually in an .MP4 file): This is your go-to for almost everything. It gives you fantastic quality in a surprisingly small file size, making it perfect for the web. Honestly, 99% of the time, this is the one you’ll want.
-
ProRes: This is a pro-level format that creates much bigger files but keeps every single bit of image detail. You'd only use this if you were sending your video to another editor for more work or saving a "master copy" in the absolute highest quality possible.
For everyday use, H.264 is the undisputed champion. It’s what social media, YouTube, and streaming services are all built to handle.
I like to think of H.264 as a high-quality JPEG for video—it looks great, works everywhere, and is easy to share. ProRes is more like a RAW photo—it’s packed with data but isn't very practical for daily use.
The Best Export Settings for Where Your Video Will Live
Where your video is going to be seen changes everything. The settings for a huge 4K YouTube video are totally different from what you'd use for a quick Instagram Story. Here are my go-to recipes for the most common places.
Settings for YouTube and Vimeo
These platforms love high-quality video, so we can give them a really nice file to work with.
- Format: H.264 (inside an MP4 file)
- Resolution: Match what you started with. If you edited in 1080p (1920×1080), export in 1080p. If it's 4K, stick with 4K (3840×2160).
- Bitrate: For a 1080p video, aim for a target bitrate between 10-15 Mbps. For 4K, you'll want to bump that up to 35-45 Mbps to keep everything looking crisp.
Settings for Instagram and Other Social Media
Here, it's all about making sure videos look great and load quickly on phones.
- Format: H.264 (MP4 is a must)
- Resolution: 1080×1920 is the standard for vertical videos like Reels and Stories. For a square post, use 1080×1080.
- Bitrate: A target of 5-8 Mbps is the sweet spot. It looks clean on a small screen without creating a huge file that takes forever to upload.
The power of templates is that they make this whole process so much faster. It's no wonder that in 2025, YouTube saw 79% growth among brands, becoming their top platform—templates make it incredibly easy to create professional content over and over again.
Once you've got your video exported, you might be inspired to do more. If you're ready for the next step, take a look at our guide on how to animate a logo to really make your brand stand out.
Solving Common Problems Like a Pro
Even the pros get stuck sometimes. One minute your project is going great, and the next, you're looking at a confusing error message that stops you cold. Honestly, learning how to fix these little problems is what turns a beginner into an expert.
Think of this section as your personal troubleshooting guide. I'll walk you through the most common issues—from missing files to a super slow computer—and give you simple ways to get back on track.
Tackling Common Errors
Seeing that scary red "Missing File" screen in After Effects or having a plugin refuse to load can really kill your creative vibe. But don't worry, most of these problems are surprisingly easy to fix.
Here’s a quick rundown of the most common issues and how to solve them:
- Missing Files: This usually happens when the main project file gets moved away from its folder of images and videos. The fix is easy: just right-click the missing file in your project, choose "Replace Footage," and show the program where the file is now. Problem solved.
- Fonts Not Appearing: Did you install the fonts while your software was open? Just restarting the program usually fixes this. If they still don't show up, make sure you installed them for all users on your computer, not just for your own account.
- Plugins Won't Load: First, double-check that you installed the right version of the plugin for your software (e.g., After Effects 2024 vs. 2023). If that's correct, try clearing your software's cache—that often fixes weird loading problems.
These quick fixes will solve most of your day-to-day issues. If you're building an intro from scratch and running into similar problems, our guide on how to make a video intro also has some great tips for the whole creation process.
Supercharge Your Workflow
Troubleshooting isn't just about fixing what’s broken; it's also about working smarter. A choppy preview or a render that takes forever is just as frustrating as an error message.
The whole point is to spend your time creating, not waiting. Simple tricks like using proxies or lowering your preview quality can literally give you hours of your life back, especially on a big project.
One of the best ways to speed things up in After Effects is to create proxies. A proxy is just a low-quality stand-in for a big, heavy video file. The software uses this lightweight version so you can edit smoothly, then it automatically swaps in the full-quality original for the final export. It's the best of both worlds!
The power of a good template is that it makes complicated work simple. This is the same idea that helped creative platforms like Canva grow to 220 million active users who have created over 30 billion designs. It's all about making professional-level results accessible to everyone. You can read more about Canva’s incredible growth over at The Social Shepherd.
Got Questions? We've Got Answers
Even with a great guide, you might still have a few questions. That's totally normal. Let's go over some of the most common things people ask when they start using video templates.
What If I Don’t Have the Right Fonts?
This is probably the #1 issue people run into, and thankfully, it's an easy fix. You open the template, and the text just looks wrong—it’s a boring, generic font. This just means your computer doesn't have the specific font the designer used.
No worries. Most good templates come with a "Help" or "Documentation" file. Open it up, and you'll almost always find a link to download the exact fonts you need. They're usually free from places like Google Fonts. Just install those before you open the project, and you'll be all set.
Of course, you can always use your own brand's fonts instead. Just select the text in your project and change it. A good tip is to try and match the style—if the original font was bold and modern, try to pick something similar from your collection to keep the design's vibe.
Pro Tip: The right font makes a huge difference in how professional a design looks. Taking a minute to get the fonts sorted out is one of the fastest ways to make sure your final video looks as good as the demo.
Can I Use My Own Music or Sound?
Absolutely! The music you hear in a template preview is just there to give you an idea of the mood. In fact, because of copyright, the audio track is almost never included in the files you download. This is actually a good thing because it means you can add a soundtrack that perfectly fits your brand and message.
Adding your own music is one of the easiest ways to customize a template.
- First, import your audio file (an MP3 or WAV works best) into your project.
- Then, just drag it onto your main timeline. I usually put it on the very bottom layer to keep things organized.
- Finally, sync it up. Play the animation and slide your audio track left or right until the big moments in the music line up with the action on screen.
Why Is My Project Running So Slow?
If your video playback is stuttering and your computer sounds like it’s about to lift off, you’re not alone. High-quality templates, especially those with lots of effects or 3D stuff, can be demanding. But you probably don't need a new computer—just a smarter way of working.
The single best trick in the book is to lower your preview resolution. In After Effects, look for a small dropdown menu at the bottom of the main viewer window. It's probably set to “Full.”
Just change it to “Half” or even “Quarter.” This tells the software to show you a lower-quality preview while you're editing, which makes everything run much faster. And don't worry—this has zero effect on your final export. Your finished video will still be in beautiful, full quality.
Ready to skip the hassle and create a video intro that looks amazing? The templates at Priyansh Animations are built to be powerful yet incredibly simple to use, so you can get professional results fast.
Explore our entire collection of video intro templates here!