Ever watch a YouTube video and think, 'How did they do that?' Here's a secret: it's not some crazy expensive software or a giant film crew. It’s all about knowing a few key tricks. Awesome video editing turns boring raw footage into a story that hooks people, and it’s the #1 thing that makes a video look pro instead of amateur. This guide is loaded with simple video editing tips for beginners that you can start using right away.
We’re skipping the confusing jargon. Instead, we'll jump straight into the practical skills that will actually make your videos better. Whether you're starting a YouTube channel, making killer videos for social media, or just want your school projects to look awesome, this is where you start. But before you start cutting clips, you need the right tools. A great first step is to check out the best video editing software for beginners to find something that works for you and your budget.
Think of this list as your cheat sheet. We'll cover the basics that all great edits are built on, like:
- Mastering cool cuts and transitions like the J-cut and L-cut.
- How to organize your files so you don't lose your mind.
- Learning keyboard shortcuts that will make you edit way faster.
- The basics of making colors pop and getting your audio just right.
- Using pacing and rhythm to keep your audience from getting bored.
Forget feeling overwhelmed by all the buttons and timelines. By the end of this guide, you'll have a solid set of skills to make videos that not only look good but actually connect with your viewers from the first second. Let’s get to it.
1. Master the Three-Point Editing Technique
If you want to edit like a pro instead of just dragging and dropping clips, the Three-Point Editing Technique is the first real skill you should learn. It’s a super precise way to tell your software, "Take this exact piece of a clip and put it right here." This is a must-know trick used by the pros and one of the most important video editing tips for beginners who want to level up.
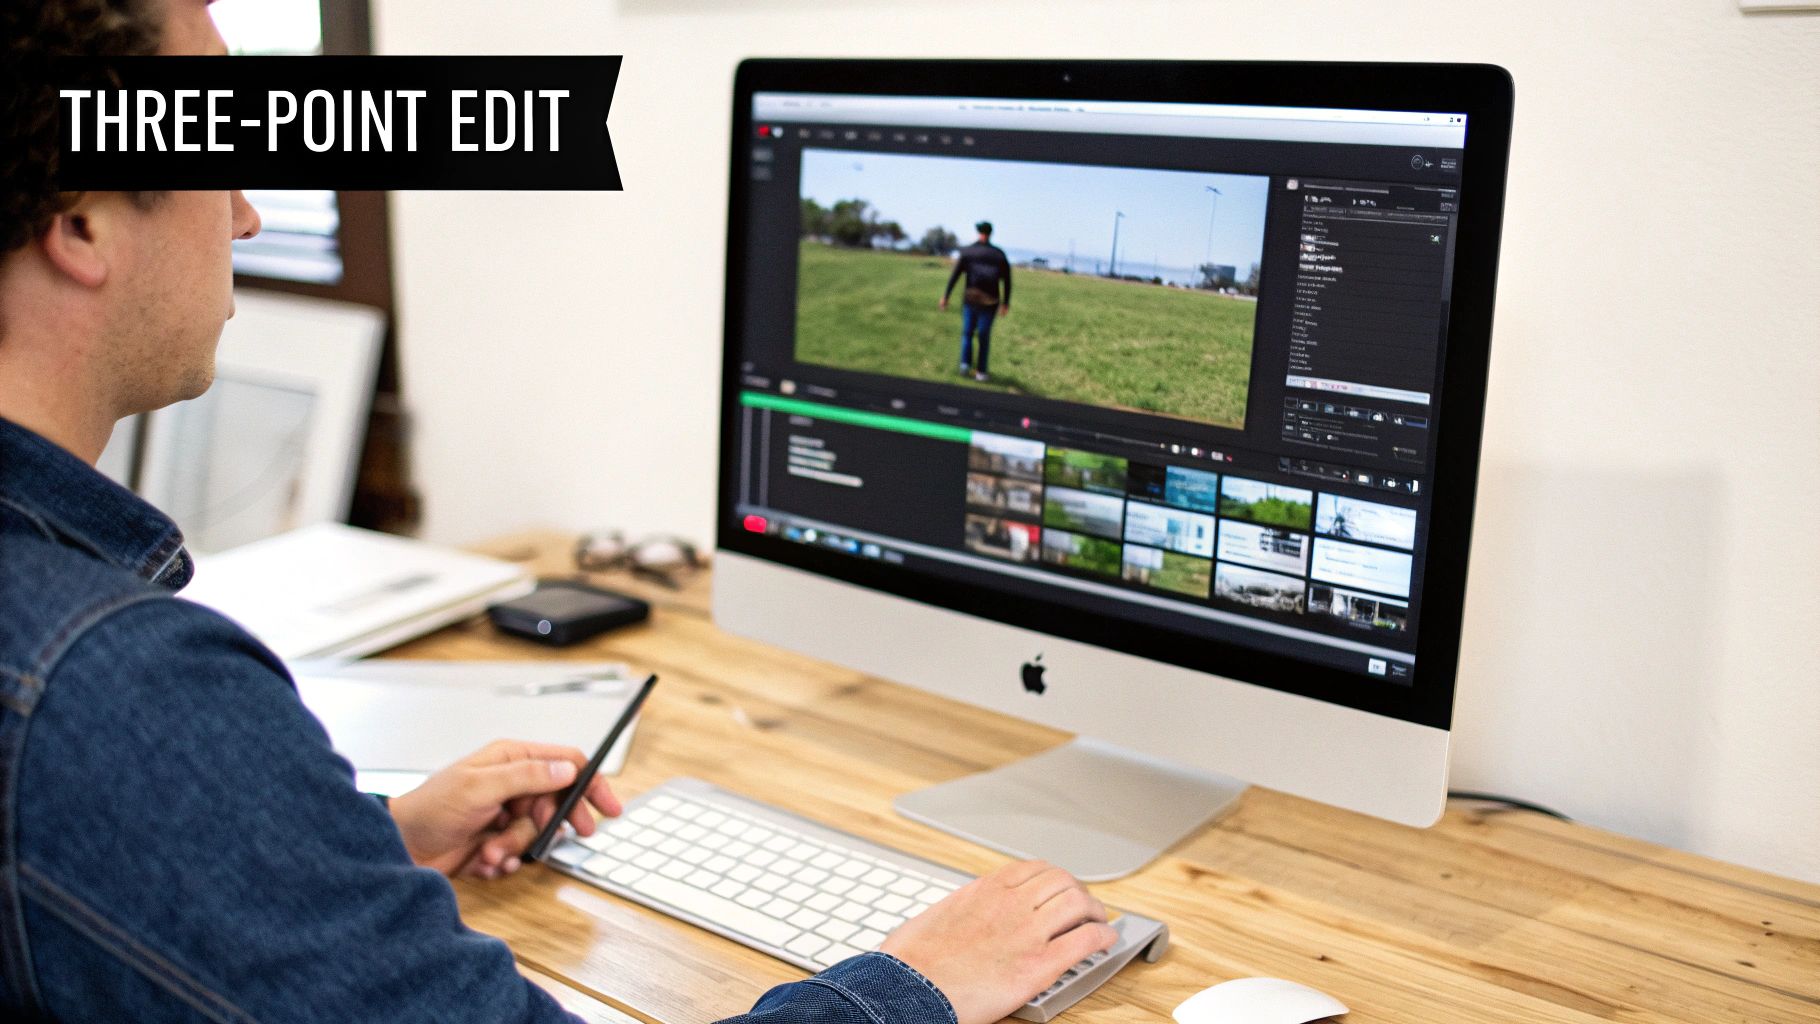
It's called "three-point" because you set three markers, and the software is smart enough to figure out the fourth one for you. This gives you total control.
How Does Three-Point Editing Work?
It sounds complicated, but it's pretty simple once you try it. You're basically giving your editing software a command: "Grab this part of my video clip and drop it at this exact spot in my main video."
Here’s how you do it:
- Mark Source In (Point 1): Open the clip you want to use. Find the exact frame where you want to start and mark it as the "In" point.
- Mark Source Out (Point 2): Play the clip and find the exact frame where you want it to end. Mark that as the "Out" point.
- Mark Timeline In (Point 3): Now go to your main project timeline. Move your cursor to the exact spot where you want the new clip to begin. Mark this as the "In" point on your timeline.
Once you’ve set these three points, you just hit the "Insert" or "Overwrite" button. Boom! The software perfectly places that selected piece of your clip right where you told it to go.
Why This Technique is a Game-Changer
This method is used for everything, from Hollywood movies to TikToks. For a YouTuber, it's perfect for placing a reaction shot (B-roll) right over your voiceover. For a gamer, it lets you cleanly drop a pre-recorded bit into a longer stream.
Pro Tip: Learn the keyboard shortcuts for marking In and Out points (usually 'I' and 'O'). This will make you feel like a editing wizard and speed things up a ton.
2. Organize Your Project with Bins and Proper File Structure
This is one of those video editing tips for beginners that sounds boring but will save you from so much frustration later. Before you even import a single file, set up your folders (called "bins" in editing software). It turns a chaotic mess into a clean, organized workspace where you can find anything in seconds.
This is what every single pro does, from movie editors to big-time YouTubers. A tidy project not only makes editing faster but also stops you from losing files and makes it easy to work with friends on a project.
How Does Project Organization Work?
The idea is simple: make a specific home for every type of file you're using. Instead of dumping everything into one giant folder, you sort it all into categories. This creates a clean system that makes your project easy to handle.
Here’s a simple and effective setup for a new project:
- Create a Main Project Folder: On your computer, make one folder for your whole video. Name it something clear, like
My_Awesome_Vlog_July_26. - Make Subfolders: Inside that main folder, make more folders for different files. A good start is:
01_Video_Files,02_Audio,03_Graphics,04_Project_Files, and05_Final_Videos. - Copy That in Your Software: When you open your editing software (like Premiere Pro or DaVinci Resolve), create "bins" that match these folders. Then just drag the files from each folder into the matching bin.
Now, when you need that cool sound effect or your channel logo, you know exactly where to look. No more endless scrolling!
Why This Technique is a Game-Changer
A clean project is the sign of someone who knows what they're doing. For YouTubers, this means having separate bins for your main footage, extra shots (B-roll), music, and sound effects. This makes building your video story way faster. Gamers can use this to organize long streams, highlight clips, and branding stuff for easy access.
The bigger your projects get, the more you'll need this skill. It's what separates the hobbyists from the pros and keeps editing fun instead of stressful.
Pro Tip: Create a project template with all your bins already set up. When you start a new video, just copy the template folder, and you're ready to go with a perfectly organized workspace every time.
3. Understand and Apply the J-Cut and L-Cut Transition Technique
Want to make your edits feel smoother and more like a real movie? The J-Cut and L-Cut are your secret weapons. Instead of just cutting from one shot to the next, this technique lets the audio and video overlap in a cool way that smoothly guides the viewer. Learning this is one of the best video editing tips for beginners who want their stuff to look more professional.
They're called "J-cuts" and "L-cuts" because of the shape the clips make on your editing timeline. A J-cut is when the audio for the next scene starts before you see it. An L-cut is when the audio from the first scene continues even after you’ve cut to the next shot.
How Do J-Cuts and L-Cuts Work?
To do this, you have to "unlink" your audio and video tracks so you can stretch one without moving the other. It sounds technical, but it’s a simple idea that adds a ton of polish.
Here’s the breakdown:
- J-Cut: Imagine you have two clips. You drag the audio from the second clip so it starts a little bit under the end of the first clip. Now your audience hears what's coming before they see it, which builds a little bit of suspense. It's great for introducing someone before they appear on screen.
- L-Cut: For this one, you stretch out the audio from the first clip so it keeps playing over the start of the second clip. This is perfect for showing someone's reaction while they're still listening to what was just said.
Why This Technique is a Game-Changer
You see these cuts everywhere in movies, TV shows, and big YouTube channels. For a YouTuber making a tutorial, an L-cut lets you show the cool final result while you're still finishing your explanation. For a gamer editing a highlight reel, a J-cut can use the exciting sound of an in-game moment to build hype just before you show the visual. This trick is also key to creating awesome movie-style intros that feel super dynamic.
Pro Tip: Don't overdo it! Start with a tiny overlap, just a half-second or so. Use J-cuts to lead your audience into a new scene and L-cuts to let a moment sink in.
4. Use Essential Keyboard Shortcuts to Increase Editing Speed
The fastest way to get better and quicker at editing is to take your hands off the mouse. Learning keyboard shortcuts is the single best way to speed up your workflow. Instead of clicking through menus for every little thing, you can do it instantly with a key press. This is one of the most powerful video editing tips for beginners because it helps you build good habits from the start.
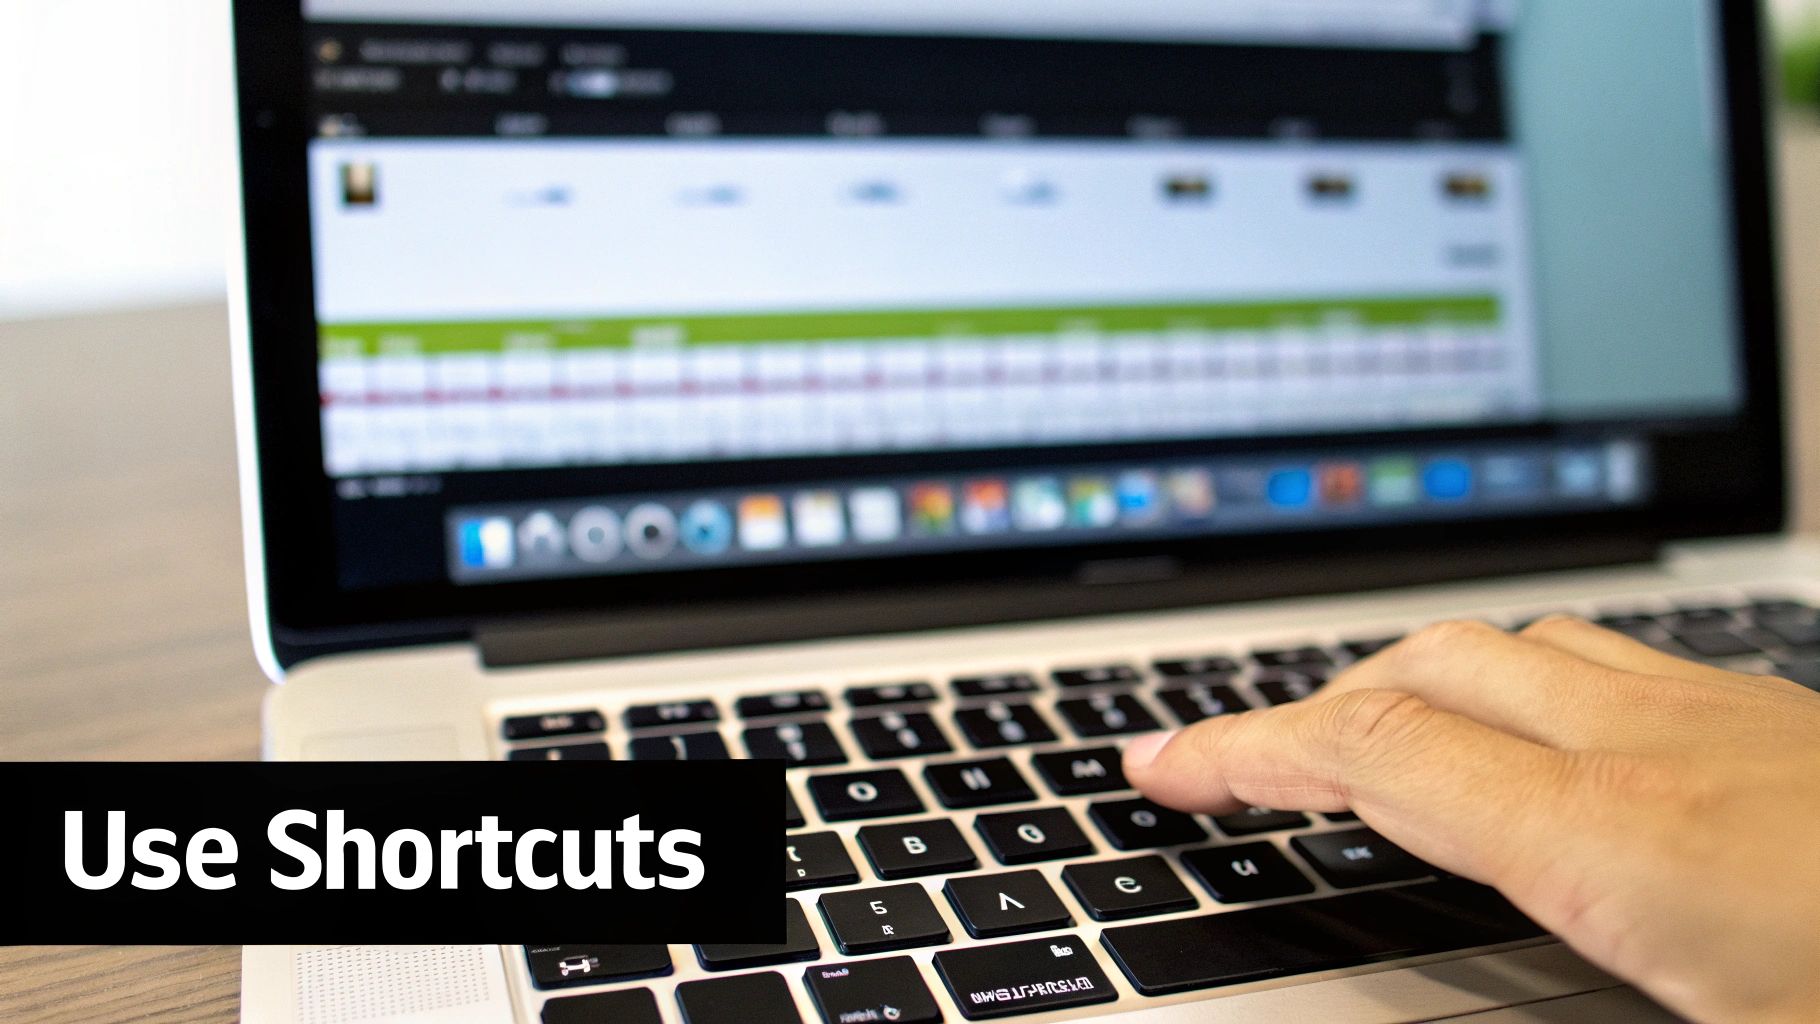
Think about how many times you click play, pause, cut, or delete something. Each click adds up. When you do hundreds of edits in a video, you're wasting tons of time. Shortcuts turn those clicks into instant commands.
How Do I Start Learning Shortcuts?
Don't try to learn all 200+ shortcuts at once. That's a recipe for disaster. Just focus on the things you do most often. If you can master just a few, you'll already be way faster.
Here are the absolute must-knows to start with:
- J, K, L Keys: These are your playback controls. J rewinds, K pauses, and L plays forward. Tapping them again makes it go faster.
- I and O Keys: Like we mentioned before, these mark your In and Out points for selecting parts of clips. They are your best friends.
- Cut/Razor Tool (usually C or B): This key switches your mouse to a blade so you can quickly slice up your clips.
- Selection Tool (usually V): This switches your mouse back to the normal arrow. Learning to jump between the Cut and Selection tools without clicking is a huge time-saver.
- Undo (Ctrl+Z / Cmd+Z): You're going to make mistakes. This is your magic "oops" button that fixes them instantly.
Why This Technique is a Game-Changer
Using shortcuts is like learning to type without looking at the keyboard—it frees up your brain to focus on the creative stuff, like telling a good story. For a YouTuber, this means you can put a vlog together in half the time. For a gamer, it means you can quickly chop up a long stream into a highlight reel for TikTok or Instagram.
Pro Tip: Find a "cheat sheet" of shortcuts for your software online, print it out, and tape it to your desk. Try to learn one new shortcut every day. Soon enough, you'll be doing them without even thinking.
5. Apply Color Correction and Grading for Professional Appearance
Ever wonder why your videos look kind of dull and flat compared to your favorite YouTuber's? The secret is almost always Color Correction and Grading. This is the step where you breathe life into your video, turning it from a boring camera file into something that looks polished and cinematic. This is one of the most crucial video editing tips for beginners because it instantly makes your videos look way more expensive.
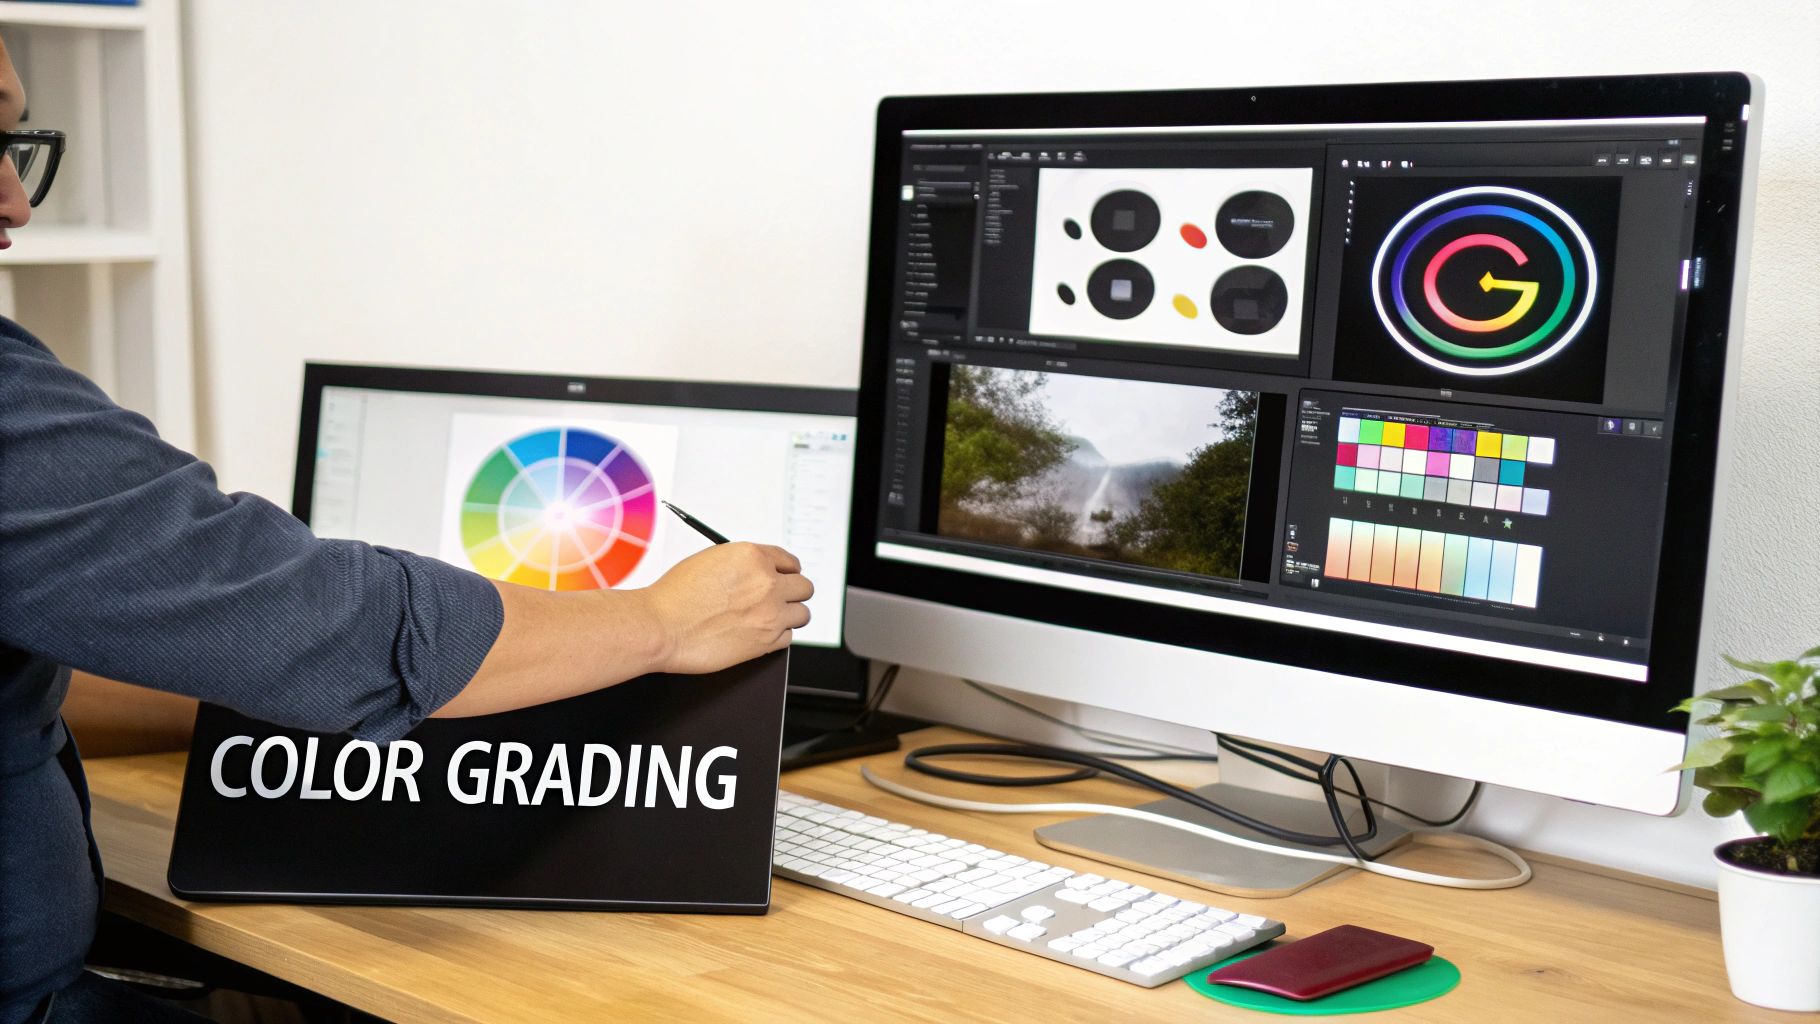
It’s a two-step process. Color correction is the technical part, where you fix problems to make the video look natural. Color grading is the creative part, where you add a specific style or mood.
The Difference: Correction vs. Grading
Think of it like this: correction is building the house, and grading is painting it. You need a solid foundation before you can get creative.
- Color Correction (The Foundation): This comes first. The goal is to make the video look like it did in real life. You'll fix the white balance (so white things look truly white), adjust the brightness and darkness (exposure), and balance the contrast to get a clean, neutral image.
- Color Grading (The Paint): This is the fun part. After you've corrected the image, you can add a "look" to create a vibe. A horror movie might get a creepy blue tint, while a travel vlog might get warm, vibrant colors to make it feel sunny and exciting.
How to Get Started with Color
Most modern editing programs have special tools just for color. The trick is to follow a consistent process.
- Correct First: Always start by fixing your footage. Get the white balance right, then tweak the brightness and contrast. Use tools called "scopes" that show you data about your colors—they help you make accurate changes instead of just guessing.
- Get Creative: Once your video looks clean and normal, you can start grading. A super easy way for beginners to start is with LUTs (Lookup Tables). A LUT is like a color filter or preset. You can apply a LUT to get a cool look instantly, then tweak it to make it perfect.
- Keep it Consistent: To make sure your whole video has the same vibe, use something called an "Adjustment Layer." Instead of adding color to every single clip, you put this special layer on top of your whole timeline and apply the color grade to it. It affects everything underneath.
This is how YouTubers get that consistent look for their channel. Even learning basic color correction will make your videos look a hundred times better. You can see how color and style work together by learning how to create cinematic-style intros.
Pro Tip: Before you start messing with colors, try to calibrate your computer monitor. If your screen shows colors weirdly, your video might look totally different to everyone else.
6. Master Audio Editing and Mixing Fundamentals
There's a saying in the film world: "Audio is half the video." But for most beginners, it’s the last thing they think about. Learning the basics of audio editing is one of the most important video editing tips for beginners because it will instantly make your videos feel more professional. People will forgive a slightly shaky camera, but they will click away immediately if the sound is bad.
Ignoring audio is a classic rookie mistake. A video that sounds good feels more trustworthy and is way more enjoyable to watch. You don't need a fancy recording studio—you just need to learn how to balance your different sounds.
How Does Audio Mixing Work?
Audio mixing is just the art of blending all your sounds—like your voice, background music, and sound effects—so they work together instead of fighting each other. The goal is to make sure the most important stuff is always easy to hear.
Here’s a simple checklist for clean audio:
- Organize Your Tracks: Put different sounds on different audio tracks in your timeline (e.g., Track 1 for your voice, Track 2 for music, Track 3 for sound effects).
- Set Your Voice Levels: The most important sound is usually someone talking. Set its volume first. A good target is to have it peak between -12dB and -6dB. This is loud and clear without being distorted.
- Balance Background Music: Now add your music. Use a trick called "audio ducking," where the music automatically gets quieter whenever someone speaks. This makes sure your voice is never drowned out.
- Add Sound Effects: Drop in sound effects to make your video more interesting. Adjust their volume one by one so they add to the scene without being annoying.
- Listen and Tweak: Put on a good pair of headphones and listen to the whole thing. Does anything sound weird? Is the dialogue always clear? Make small changes until it sounds perfect.
Why This Technique is a Game-Changer
Good audio mixing turns a homemade video into something that feels like a real production. For a YouTuber, it means your voice is crystal clear over your gameplay. For a gamer, it means your audience can hear you perfectly over explosions. Using tools like AI audio transcription can also make it easier to add subtitles. This is super important, even from the very beginning, like when you create a professional intro for your YouTube channel.
Pro Tip: Before you export your final video, listen to the audio on different devices—your headphones, your laptop speakers, and your phone. Sound can be totally different on each one, so this helps you find a good balance that works for everybody.
7. Learn Pacing and Rhythm Through Cut Timing and Composition
Pacing is the secret ingredient that makes a video feel exciting, emotional, or chill. It's the rhythm of your edit. As a beginner, learning how to control it is a superpower. It's all about deciding how long to leave a shot on screen and when to cut to the next one. Good pacing keeps people glued to the screen; bad pacing makes them bored and click away, even if your footage is amazing.
This isn't just for Hollywood movies. It's the magic behind every viral TikTok and every great YouTube documentary. The right rhythm makes your video feel professional and keeps people watching until the very end.
How Does Pacing Work?
You create pacing by how you time your cuts. You're basically creating a heartbeat for your video. Think about it like music: some songs are fast and full of energy, while others are slow and thoughtful. Your editing can do the same thing.
Here are a few examples:
- Action Scenes: Use super fast cuts, with shots lasting just a couple of seconds, to build excitement.
- Documentaries: Use longer shots, maybe 5-10 seconds each, to give people time to soak in the information and look at what's on screen.
- Music Videos: The cuts are often perfectly timed to the beat of the song to create a powerful, rhythmic feeling.
- Comedy: Timing is everything. Cutting to a reaction shot at the perfect moment can make a joke hilarious, but if you're a second too late, it falls flat.
Why This Technique is a Game-Changer
Understanding rhythm turns you from someone who just sticks clips together into a real storyteller. For a YouTuber, changing up the pace can keep a long talking-head video interesting by cutting to different angles or showing other footage. For a gamer, you can create a high-energy intro with super quick cuts to grab attention right away. A video intro is a great place to practice this; you can learn more about how to make a video intro on priyansh.net to see how it works.
Pro Tip: A great trick is to "cut on action." When someone is doing something, like opening a door or picking up a cup, make your cut right in the middle of that movement. It tricks the viewer's brain and makes the cut feel completely invisible.
8. Use Templates and Presets to Streamline Repetitive Tasks
As you edit more, you'll start to notice you're doing the same things over and over, like making title cards, adding the same color effect, or setting up your audio. Templates and Presets are your secret weapon for this. They are pre-made settings and project files that stop you from having to start from scratch every single time. This is one of the smartest video editing tips for beginners who want to work faster.
Think of a template as a blueprint for your video and a preset as a saved "recipe" for an effect. Using them helps you keep your brand consistent and lets you focus on the fun, creative parts of editing instead of the boring setup.
How Do Templates and Presets Work?
It's a simple idea: do the work once, then reuse it forever. Instead of manually creating your intro every single time, you just apply a pre-made one.
Here’s how you can use them:
- Create Your Thing: Design your perfect title card, lower third graphic, or get a color grade just right on a clip.
- Save it as a Template or Preset: Your software will have a button to save your work. For a whole intro sequence, you can save the project file as a template. For a color look or an audio effect, you save it as a preset.
- Use it in the Future: The next time you need it, you just import the template or apply the preset with a single click. All the hard work is already done! You can even find professional templates online, like ones used to remake the classic Disney intro on priyansh.net.
Why This Technique is a Game-Changer
This is a lifesaver for people who make a lot of videos and need them to be consistent. For a YouTuber, it means every video has the same awesome intro and the same visual style. For a business, it makes sure every training video looks like it belongs to the company, with no extra effort.
By building your own library of templates and presets, you’re creating your own personal editing toolkit. This not only makes you faster but also helps you develop a professional and polished look for all your videos.
Pro Tip: Start by creating a simple "Project Template" that includes your folder structure (like Bins for Footage, Audio, etc.), your channel intro and outro, and a few of your favorite color presets. This will save you setup time on every single video you make.
8-Point Comparison: Beginner Video Editing Tips
| Item | Implementation complexity | Resource requirements | Expected outcomes | Ideal use cases | Key advantages |
|---|---|---|---|---|---|
| Master the Three-Point Editing Technique | Low–Moderate; needs practice to be intuitive | Any NLE, keyboard shortcuts | Precise clip placement and timing; fewer trial edits | Interviews, news segments, beat-aligned music cuts | Reliable, transferable foundation; consistent results |
| Organize Your Project with Bins and Proper File Structure | Moderate initial setup; low ongoing if disciplined | Storage, clear naming conventions, backups | Faster asset retrieval; fewer errors; smoother collaboration | Large projects, team workflows, recurring channel content | Scalable, improves performance and handoffs |
| Understand and Apply J‑Cut and L‑Cut Transitions | Low–Moderate; timing skill required | NLE with audio/video trimming controls | Smoother, cinematic transitions; improved pacing | Narrative films, interviews, trailers, documentaries | Natural-feeling cuts; enhances continuity and rhythm |
| Use Essential Keyboard Shortcuts to Increase Editing Speed | Low (steep short-term learning curve) | Time for practice; optional custom keymap | Significant speed gains; reduced repetitive strain | Any editor seeking efficiency; live or fast-turnaround work | Faster workflow, transferable muscle memory |
| Apply Color Correction and Grading for Professional Appearance | Moderate–High; requires color knowledge | Calibrated monitor, scopes, LUTs or grading software | Consistent, polished visual look; fixes exposure/white balance | Commercials, films, weddings, branded content | Dramatically improves perceived quality and mood |
| Master Audio Editing and Mixing Fundamentals | Moderate; technical audio concepts to learn | Quality headphones/speakers, EQ/compressor plugins, time | Clear, balanced sound; better viewer retention | Podcasts, ASMR, films, gaming videos, interviews | Major impact on professionalism and emotional impact |
| Learn Pacing and Rhythm Through Cut Timing and Composition | Moderate–High; highly subjective skill | Time watching/analyzing films, practice, reference edits | Engaging flow and improved narrative clarity | Music videos, action sequences, comedy, documentaries | Enhances storytelling and viewer engagement |
| Use Templates and Presets to Streamline Repetitive Tasks | Moderate initial creation; easy reuse | Time to build templates, version control, library storage | Faster project setup and consistent output | YouTube channels, corporate training, recurring formats | Time savings, consistency, scalable production |
Your Next Step: Start Creating!
Congrats on making it through the guide! You now have a whole toolkit of video editing tips for beginners that will help turn your raw footage into something awesome. We went from the basics like organizing your files to the cool stuff like mixing audio, coloring your video, and finding the right rhythm. It might seem like a lot, but don't worry. The goal isn't to memorize every single button. It's to understand these main ideas so well that you don't even have to think about them.
The real point is to get so good at the "how" that you can spend all your time thinking about the "why"—your story. When you don't have to think about how to make a J-cut, you can focus on being a better storyteller and making videos that people actually want to watch. That's the real power of learning these basics.
From Knowledge to Action: Your Path Forward
Reading about this stuff is great, but the real learning happens when you start doing it. The only way to get better at editing is simple: edit more videos.
Don't wait for the "perfect" project. Grab some videos off your phone, download some free clips online, or even re-edit something you made before. Your mission is to actually use what you just learned.
Here are a few mini-challenges to get you started:
- The Shortcut Challenge: For the next 15 minutes you edit, promise yourself you'll only use keyboard shortcuts for cutting, selecting, and moving clips. It will feel slow at first, but it will build muscle memory that will make you way faster later.
- The Audio-First Edit: Find a short clip with people talking. Before you touch the video, edit just the audio until it sounds perfect and flows nicely. Then, use J-cuts and L-cuts to make the video match the smooth audio.
- The Color Story: Take one boring-looking clip and make three different versions of it just by using color tools. Make one version feel warm and happy, another cold and scary, and a third weird and futuristic. This shows you how much color can change the feeling of a video.
The Journey is the Reward
Enjoy the process of learning. Your first few videos probably won't look like a Marvel movie, and that's totally fine. Every editor you look up to started right where you are, messing up their edits and struggling with audio. They got better by just doing it over and over, trying new things, and learning from their mistakes.
These video editing tips for beginners are your starting point. You now have a roadmap for building a fast workflow, making clean edits, and adding that pro-level polish that makes your videos stand out. The more you practice, the more you'll develop your own unique style. You'll start to see your footage not just as a bunch of clips, but as a chance to tell a story that only you can tell.
So, open up your editing software. Import those clips you've been avoiding. Pick just one trick from this list and focus on it. Your journey from beginner to awesome editor starts right now, with a single click. Go make something cool.
A powerful intro is the best way to hook your audience from the very first second. If you want to add that cinematic, professional polish to the start of your videos without the steep learning curve of motion graphics, check out Priyansh Animations. We create stunning, custom video intros that give your content instant authority, helping you stand out and look like a pro from the beginning.
Priyansh Animations