Before you touch any software or even think about templates, the first step to create a movie intro is to ask yourself one big question: What story does this intro need to tell? A truly great opening isn't just a fancy title card; it’s the very first chapter of your film. It has a job to do—setting the mood, hinting at what's to come, and hooking your audience right away.
Think about it. The intro for a gritty crime thriller should feel completely different from a lighthearted romantic comedy. The thriller might use quick cuts, a dark color scheme, and music that makes your heart race. The rom-com? It'll probably have soft lighting, elegant fonts, and a sweeping, emotional soundtrack. Your first mission is to nail down that feeling.
Building Your Blueprint
Once you have a vibe in mind, it's time to get a little more specific. Don't worry about the technical stuff yet. For now, just grab a pen and paper.
- Keywords and Themes: Write down five words that capture the soul of your film. Is it mysterious, energetic, nostalgic, futuristic, or heartwarming? These words will be your creative compass.
- Visual Motifs: Is there a single image or symbol that just screams "your movie"? For a horror flick, maybe it's a cracked mirror. For a sci-fi epic, it could be a detailed star map. This main visual can be the anchor for your whole intro.
- Pacing: How do you want the intro to feel? A slow, careful pace can build amazing tension, while a fast, energetic one gets the adrenaline pumping right away.
This kind of planning is a huge deal in the real world. The global movie industry was worth around USD 128.8 billion in 2023, and these opening sequences are super important for branding and storytelling. They're carefully designed to grab attention in a crowded market. You can see more data on the movie industry and its trends on Statista.
Your intro is your film's first promise to the audience. A great concept makes sure you deliver on that promise from the very first frame, making them lean in and wonder what comes next.
From Idea to Storyboard
With your main idea locked in, the next step is to actually see it. This is where a simple storyboard comes in—a series of rough sketches that map out your intro, shot by shot.
This doesn't have to be a work of art. Seriously, stick figures and basic shapes are all you need. The goal here is to see how the visuals flow together and figure out the best moments to bring in your titles and credits. It’s the bridge between the cool idea in your head and the final product on the screen.
If you're looking for more inspiration, you can check out our guide on creative ideas for introductions. This planning stage makes sure every single element, from your font choice to the timing of an animation, serves your main idea.
Finding the Right Tools for the Job
With a killer concept ready to go, it's time to pick your creative weapon. The software you choose can be the difference between a frustrating afternoon and a finished intro you’re proud of. It really comes down to three things: your budget, how much time you're willing to spend learning, and how much creative control you want.
There’s no single "best" choice here—just the right tool for your project. Think of it like this: are you looking to snap together a pre-made model kit, or do you want to sculpt something from a block of clay?
The Big Players and the Friendly Alternatives
If you want total, absolute control, Adobe After Effects is the undisputed champion of the industry. It’s what the pros use because you can build pretty much anything you can imagine, from complex 3D text to mind-blowing visual effects. The catch? It has a famously steep learning curve and a monthly subscription fee.
On the other hand, you've got software like DaVinci Resolve, which offers an incredibly powerful free version. It includes a section called Fusion for effects and animation that gives you professional-level tools without costing you anything.
Both of these can be a gateway to more advanced stuff. If you find yourself getting really into it, you might even explore specialized programs. To get a feel for what's out there, you could check out some of the best 3D animation software for beginners.
This decision tree helps show how your film's genre can guide your visual style and, in turn, the tools you might need to pull it off.
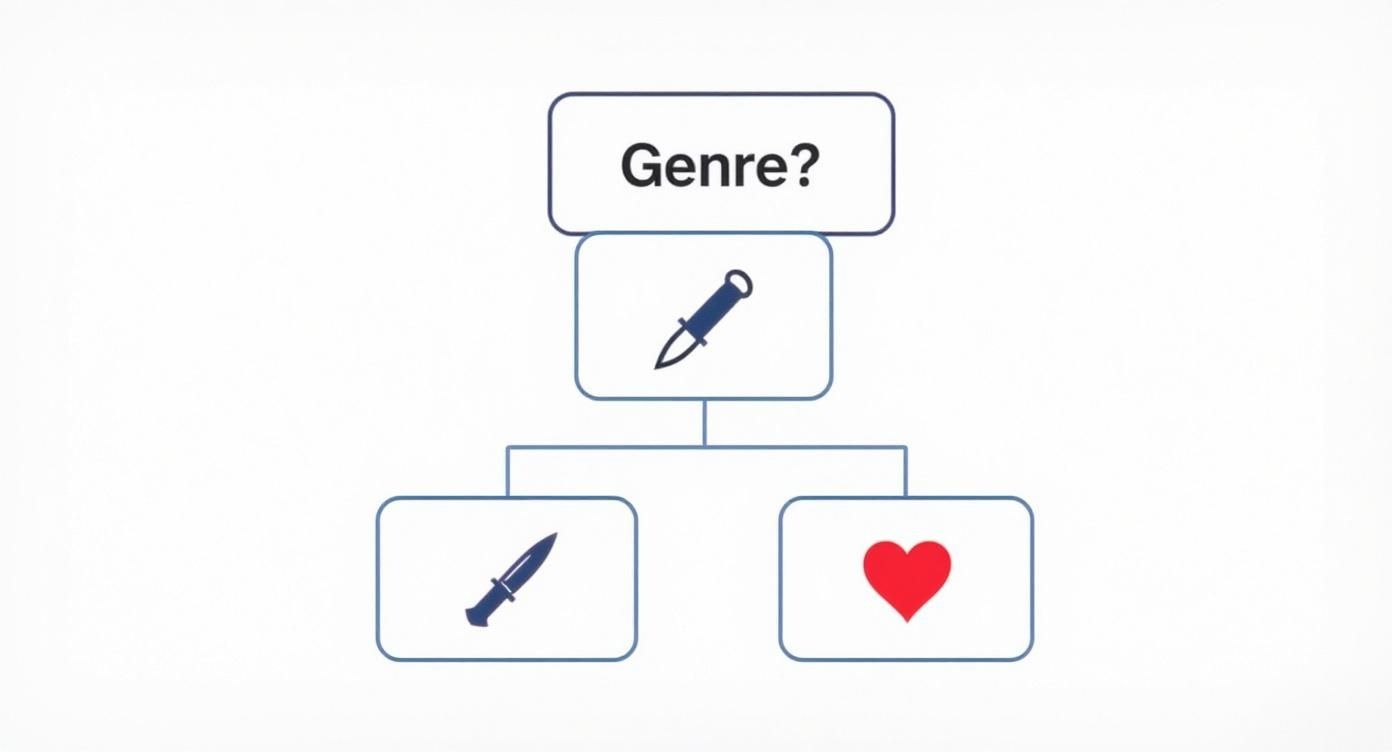
As you can see, a simple genre choice immediately starts to shape the mood and visuals, which can help you decide if you need a complex, do-it-all tool or something more straightforward.
To help you decide, here’s a quick breakdown of the usual suspects.
Comparing Popular Movie Intro Software
| Software | Best For | Learning Curve | Pricing Model |
|---|---|---|---|
| Adobe After Effects | Total creative control, complex effects, and motion graphics. | Steep | Subscription |
| DaVinci Resolve | All-in-one editing and effects for creators on a budget. | Moderate to Steep | Free / One-Time Fee (Pro) |
| Canva / Placeit | Quick, easy intros made in your browser. Perfect for beginners. | Very Low | Free / Subscription |
| Templates (AE/Resolve) | Professional results without needing to be a design expert. | Low | One-Time Purchase |
At the end of the day, the goal is to find a tool that helps you create your vision, not one that gets in your way.
The best software is the one that lets you bring your idea to life without causing a headache. Don’t chase the most expensive option if a simpler tool will get the job done faster and better for what you need.
Templates and Online Intro Makers
But what if you need something great, and you need it right now? What if you have zero desire to spend weeks learning new software? This is exactly where online intro makers and pre-built templates shine.
- Online Makers: Services like Canva or Placeit let you customize cool intros right in your web browser. You pick a style you like, type in your text, and download the video. It’s incredibly fast and easy.
- Templates: Marketplaces are full of templates for After Effects or DaVinci Resolve that give you a professional starting point. All the hard animation is already done; you just have to drop in your own text and logos.
These options are a lifesaver for YouTubers, small businesses, or anyone on a tight deadline. And if you want to speed things up even more, you could look into some of the best AI video generators out there. This modern approach can seriously speed up your workflow, letting you focus more on the creative ideas and less on the technical stuff.
Gathering Your Creative Assets
With the right tools picked out, it's time to gather your ingredients. A great movie intro is a bit like cooking; you need to have your high-quality visuals, sound, and text ready to go before you start putting them together.
Think of this as getting all your cooking ingredients prepped and measured. Getting everything organized now will make the creative part go so much more smoothly.
Finding Your Sonic Identity
Let's start with what people will hear. Sound is probably the most powerful tool you have for setting a mood instantly. It’s the difference between a scene feeling epic or just… flat. The right music or a single, well-placed sound effect can create an emotional shortcut straight to your audience.
You don't need to hire a composer to get amazing audio. There are fantastic online libraries full of professional, royalty-free music that won't get you in trouble for copyright.
- Music: I often use sites like Epidemic Sound or Artlist. They make it easy to find cinematic music by searching for a specific genre, mood, or even the instruments you want to hear.
- Sound Effects: For all the swooshes, clicks, and background sounds that bring your animation to life, places like Freesound or Zapsplat are gold mines.
In an industry this big, every little advantage matters. The global movie and entertainment market was valued at around USD 100.38 billion in 2023 and is expected to grow to nearly USD 169.68 billion by 2030. In a market that crowded, professional sound is one of the fastest ways to make your project look and feel high-quality. You can dig into more details about the growing entertainment market on Grandview Research.
The Power of Typography and Visuals
Now for the visuals. The fonts you pick say a lot about your film before the audience reads a single word. A clean, sharp font screams sci-fi, while an elegant, curvy one can instantly make you think of a historical drama.
This is also when you'll want to get your logos and any other important visuals ready. If you're using a logo, you absolutely need a high-resolution version with a transparent background. A .PNG file is good, but a vector file like an .AI or .SVG is even better. This is non-negotiable if you want it to look sharp and avoid that ugly white box around it.
If you're looking for a head start, professionally designed After Effects intro templates can be a huge time-saver. They give you a polished structure where you can just drop in your own prepared assets.
Organization is your best friend here. Seriously. Create a project folder and then make subfolders inside for "Music," "Sound Effects," "Logos," and "Fonts." It’s a simple step that will save you from a world of headache later.
Animating and Timing Your Intro
This is where the real magic happens. You’ve got all your ingredients ready—the music, fonts, and logos are all lined up. Now it's time to bring them to life. Animation isn't just about making things move; it’s about making them move with purpose, turning a pile of separate pieces into a story that grabs your viewer from the first second.
The secret to making movement look professional isn't about speed, but smoothness. Most animation software has a setting for this, often called "easing". Without it, an object starts and stops suddenly, which feels jerky and robotic. With easing, it gently speeds up and slows down, just like things do in the real world. Trust me, this one small change makes a huge difference.
Syncing Visuals with Sound
Think of your soundtrack as the heartbeat of your intro. Every single visual event, whether it's a title fading in or your logo snapping into place, should feel like it's connected to the music. Don't just place your animations randomly—listen to the audio track over and over.
Find the key moments in the music:
- The Big Beats: These are perfect for your major actions. Think a title slamming onto the screen or a logo reveal.
- Subtle Swells: Use these for slower, more graceful movements, like text gliding smoothly into place.
- Crescendos: This is your chance to build excitement. You can start an animation slow and then speed it up as the music gets more intense.
This synchronization is what gives an intro its punch. When an animation hits perfectly on a drum beat, it just feels right. To really nail this, you can check out a practical guide to sound effects for intros to find the perfect swooshes and hits to make your movements even better.
The goal is to make your audio and visuals feel like they were made for each other. When you get it right, the viewer won't consciously notice the sync—they'll just feel it.
Mastering Pace and Flow
Pacing sets the entire mood. Are you going for the slow-burn suspense of a thriller or the fast-paced energy of a gaming channel? Your timing choices are everything.
If you want a suspenseful vibe, use slow reveals. Let things fade in gradually or slide into the frame with long, deliberate movements. Give the audience a moment to look at a visual before the next one appears. This creates tension and makes them lean in, wondering what’s coming next.
For an energetic feel, think quick cuts and fast, snappy transitions. You can have text pop up and disappear in a fraction of a second, perfectly synced to a fast beat. This keeps the viewer's eyes moving and gets their energy up right away. For more advanced control over the speed of your clips, you can learn more here: https://www.priyansh.net/after-effects-time-remapping/
Ultimately, you’re like a dance choreographer. You're not just moving things around; you're directing a performance between your visuals, text, and music. Don't be afraid to play around and experiment. Sometimes the coolest intros are the ones that break the rules with unexpected timing that makes everyone sit up and pay attention.
Exporting for a Flawless Finish
You’ve spent hours getting your intro just right, and it looks awesome. Now for the final, super important step: getting it out of your software and into a file that everyone can watch exactly as you planned. This part is called exporting, or rendering, and getting the settings right is a must.
Think of it this way: your project file is the recipe, but the exported video is the finished cake. You can't just send someone the recipe and expect them to bake it themselves. Getting this wrong can turn your hard work into a pixelated, blurry mess, and nobody wants that.
Decoding the Tech Talk
Don’t worry, you don’t need to be a video genius. Most of the time, you just need to get a few key settings right to make sure your movie intro looks sharp and professional on any screen.
Here’s a quick rundown of what really matters:
- Codec: This is what compresses your video. For just about any online use—YouTube, social media, your website—H.264 is the king. It gives you fantastic quality without creating huge files.
- Resolution: This is all about sharpness. Just match it to what you were working with in your project. That’s usually 1920×1080 (1080p) for standard HD, or 3840×2160 (4K) if you went for ultra-high definition.
- Frame Rate: Keep this the same as your animation. Most animators use 24 fps for that classic movie look, but 30 fps is also very common for online video.
Getting these right makes sure your work looks polished everywhere it’s seen. In a competitive market where some countries are producing over 2,500 films a year, even the smallest details in a video need to be perfect to stand out. You can find more insights on evolving strategies in global film production at WIPO.int.
The final render is your intro's big debut. Getting the export settings right is like dressing your creation in its best outfit before sending it out into the world.
Your Pre-Flight Checklist
Before you hit that "Render" button, take a breath and do one last check. It’s amazing what you can miss when you’ve been staring at the same project for hours. A tiny typo or a sound effect that's slightly off can stick out like a sore thumb in the final video.
Here’s what I always check:
- Spell Check Everything: Read every single title and credit. Then read them again, backwards. Typos are the absolute worst.
- Audio Levels: Put on some headphones and listen closely. Is the music too loud? Are the sound effects weird or too quiet?
- Final Playback: Watch the entire intro from start to finish without stopping. Does the pacing still feel right? Does it flow well?
This final polish is just as important as the animation itself. If you animated a logo in your intro, making sure it's crisp and timed perfectly is essential. For a deeper dive on that, our guide on how to animate a logo has more specific tips to make your brand pop. A perfect export really does make all the difference.
Answering Your Top Questions About Movie Intros
When you're first jumping into making a movie intro, a few questions always pop up. That's totally normal. Any new creative project can feel a little intimidating, but the most common problems are pretty easy to solve once you know what to do.
Let's go over some of the questions I hear all the time from creators. This is your cheat sheet for getting past those early roadblocks and keeping your project moving.
How Long Should My Intro Be?
This is easily the number one question. The short answer? It depends, but shorter is almost always better. There's no magic number, but a good range to aim for is anywhere between 15 and 90 seconds.
- For a YouTube video or a short film, you'll want to keep it tight. Aim for under 30 seconds. People watching online have short attention spans, and your job is to get them to your actual content as fast as possible.
- For a full-length movie, you have a little more time to play with. Some of the most famous movie intros are two or even three minutes long. But—and this is a big but—they only work because they're actively telling a story or building a powerful mood.
The golden rule is this: every single second has to earn its spot. If any part of your intro feels like it's just killing time, it's already too long. Cut it.
Can I Actually Make a Good Intro for Free?
Yes, one hundred percent. The idea that you need to spend a lot of money for professional-looking results is a total myth. Some of the most powerful video and animation tools out there won't cost you a dime.
Take DaVinci Resolve, for example. Its free version is shockingly powerful and includes Fusion, a full animation and effects program that real pros use every day. If you need something simpler, an online tool like Canva has a free plan with tons of great templates that can help you make a cool intro in minutes. You can absolutely create something fantastic without opening your wallet.
What's the Biggest Mistake Beginners Make?
It's easy to get obsessed with the visuals, but the single biggest mistake I see new creators make is ignoring the sound design. You could have the most amazing animation in the world, but if the audio sounds cheap or like an afterthought, the whole intro will feel amateur.
Great sound design is way more than just dragging a music track into your project. It's about finding music that truly captures the mood you're going for. It's about adding those little sound details—a quiet whoosh as a title flies by, or a deep thump when your logo appears—that make the visuals feel real and impactful. Clean, layered audio is just as important as what's on screen.
Do I Need to Be an Expert Animator?
Not at all. In fact, think about some of the most memorable movie intros ever. Many of them use very simple animation techniques. The real magic comes from a mix of strong design, smart font choices, and perfect timing.
Simple moves like fades, slides, and slow zooms can be incredibly powerful when they're perfectly timed to the beat of a great soundtrack. It's always better to master these basics and make a clean, polished intro than it is to try complicated animations that end up looking messy. Always choose quality over complexity.
Ready to skip the learning curve and get a stunning, custom intro made for you? At Priyansh Animations, we specialize in creating high-quality, professional movie intros that will make your project stand out. Choose your style, provide your text, and let us handle the rest. Get your perfect intro today at https://www.priyansh.net.