Ever watch a video where the action speeds up, slows down to a super cool crawl, and then freezes at just the right moment? You've probably wondered, "How did they do that?!" The secret is a powerful tool called Time Remapping in After Effects. It’s like having a remote control for time itself, letting you control every single frame of your video.
What Is Time Remapping in After Effects?
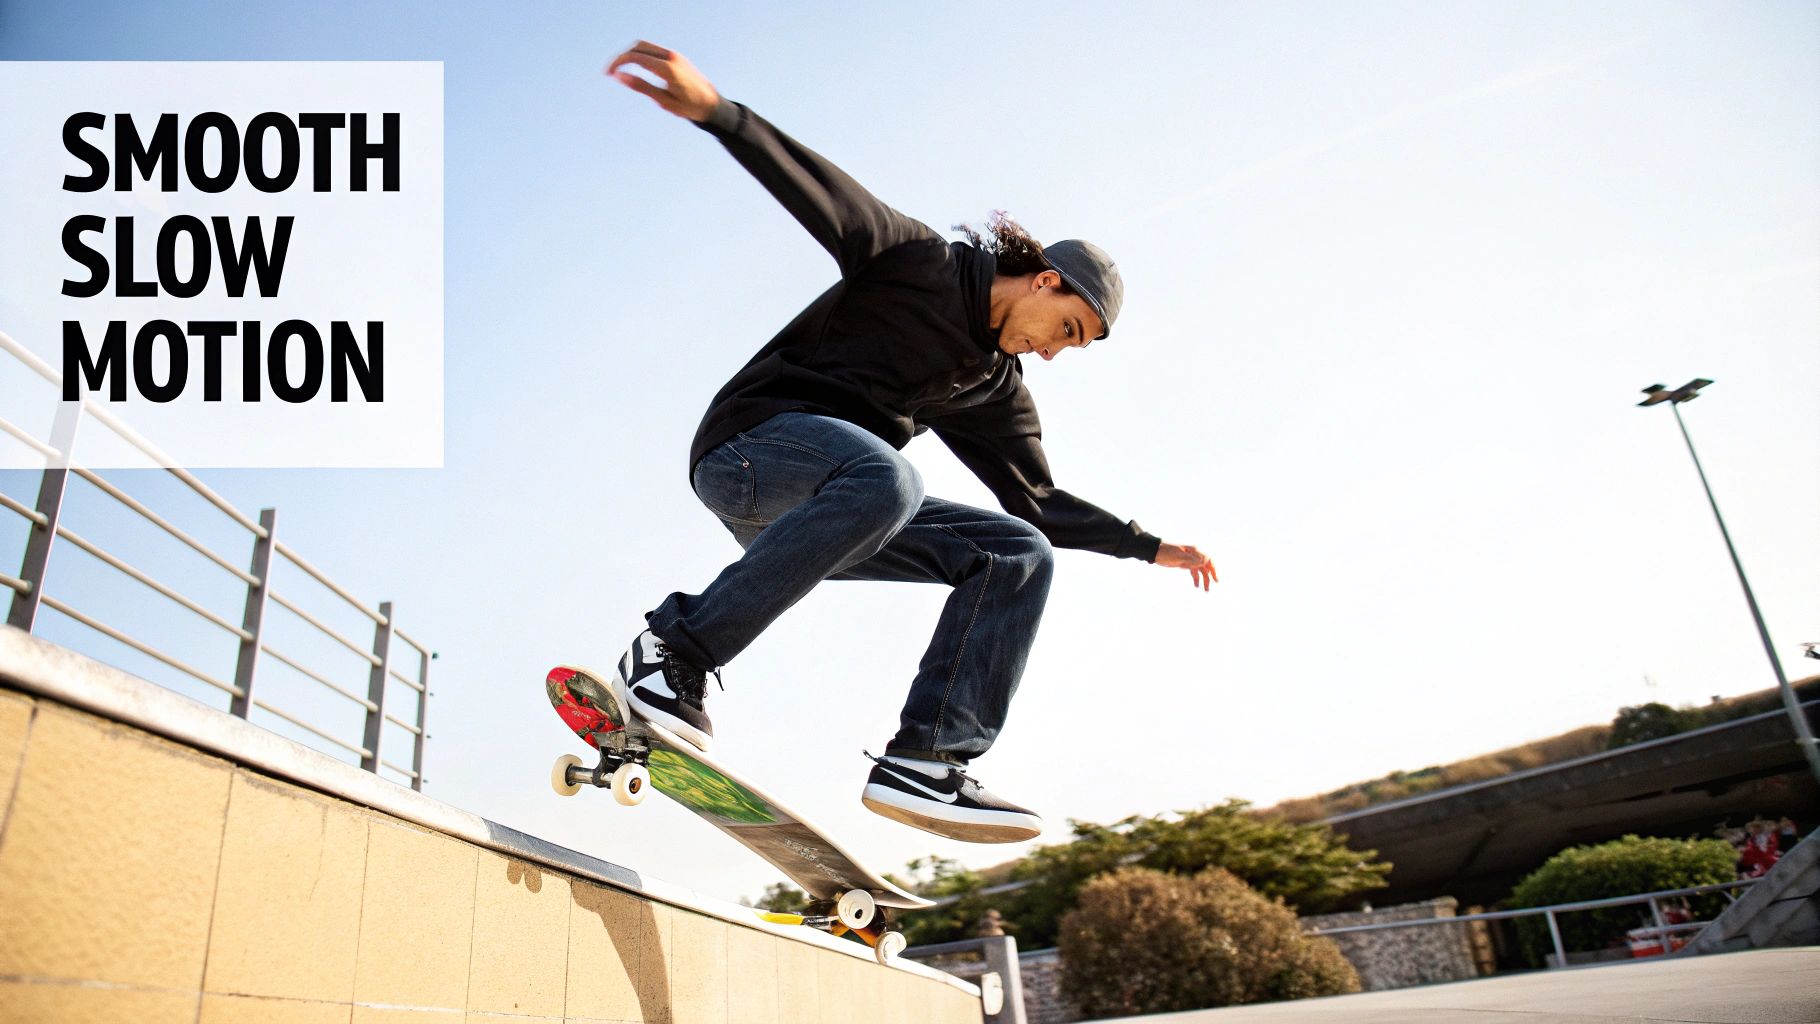
Imagine you’ve got a clip of a skateboarder hitting a ramp. With a basic speed change, you could make the entire clip 50% slower. Cool, but kind of boring. But with After Effects time remapping, you can be a time wizard. You can show the skateboarder rolling up at normal speed, drop into epic slow-motion as they launch into the air, blast through their mid-air spin at lightning speed, and then bring it all back to normal for a smooth landing—all in one clip.
This guide will show you how to master time remapping, a key skill in After Effects video editing. Forget just speeding things up or slowing them down. You’re about to learn how to build a completely custom timeline for your footage.
It's More Than Just Speeding Things Up
So, what makes this different from just right-clicking a video and changing its "Speed/Duration"? One word: keyframes. Think of keyframes as little pins you stick in your timeline to say, "Hey, computer, I want a change to happen right here!" When you turn on time remapping, you can drop these keyframes anywhere you want and tell After Effects exactly how fast or slow to play the video between them. This opens up a whole universe of awesome effects.
Suddenly, you can pull off pro-level tricks like:
- Awesome Speed Ramps: Create those slick, smooth transitions from slow-mo to high-speed that build up excitement and make your videos look epic.
- Dramatic Freeze Frames: Instantly stop the action on a killer moment before letting it play out. It's a super powerful way to add drama.
- Perfect Music Syncing: Make your visuals dance to the music. Speed up a shot to match a drum hit or slow it down for a bass drop to make your videos feel alive.
To really get it, let's compare the two methods side-by-side.
Time Remapping vs. a Regular Speed Change
Here’s a simple breakdown of what you can do with each one.
| Feature | Time Remapping | Standard Speed/Duration Change |
|---|---|---|
| Speed Control | Change the speed whenever you want inside a single clip. Go crazy! | One speed for the whole clip. That's it. |
| Keyframes | Yes! You have full control with keyframes to make changes. | Nope. It's a one-and-done setting. |
| Freeze Frames | Super easy. You can pause on any single frame you want. | Not really. You'd have to do a complicated workaround. |
| Reverse Motion | Yep. You can play forward, then backward, then forward again in one clip. | You can reverse the whole clip, but not just a little piece of it. |
| Difficulty | A little trickier to learn, but gives you total creative freedom. | Super simple and fast for basic stuff. |
| When to Use It | For epic speed ramps, syncing to music, and any cool timing effects. | For quick fixes, like making a clip fit into a specific time slot. |
Basically, a standard speed change is for quick fixes. Time Remapping is for when you want to get creative and make something that looks truly professional.
This technique is so powerful that it's used everywhere. In Hollywood, it's estimated that over 75% of action movies in the last ten years used time remapping for everything from slow-motion punches to dramatic, fast-paced chases. The power to turn a 10-second clip into 2 seconds, or stretch 2 seconds into 15, has completely changed how stories are told on screen. You can find more details about its official implementation in our article about video editing tips for beginners.
Think of it like this: A normal speed change is like a light switch—it's either on or off. Time remapping is like a dimmer switch, giving you total control to make things brighter or darker whenever you want.
Learning this one feature is one of the fastest ways to make your videos look less like a school project and more like a blockbuster movie. It’s not just a tech skill; it’s an art form.
Let's Make Your First Speed Ramp!
Okay, enough talk. Let's get our hands dirty and build a dynamic speed ramp. This is one of the coolest and most common ways to use After Effects time remapping. Nailing this will instantly make your videos feel more professional and full of energy.
We're going to create a classic effect: a clip that starts in slow-mo, rockets into high speed, and then eases back down to normal.
Step 1: Turn on Time Remapping
First things first, you need to tell After Effects you’re about to mess with time.
Click on your video layer in the timeline. Then, right-click on it and go to Time > Enable Time Remapping. If you love shortcuts, just hit Ctrl+Alt+T on Windows or Cmd+Option+T on a Mac.
As soon as you do this, After Effects will add two keyframes to your layer: one at the very beginning and one at the end. These two keyframes basically say, "Play this clip at normal speed from start to finish." Our job is to jump in and add our own keyframes to shake things up.
Step 2: Set Your Keyframes
Think of keyframes as pins you're sticking into your timeline to mark where a change should happen.
First, scroll through your video and find the exact spot where you want the action to start speeding up. With your timeline marker parked on that frame, click the little diamond icon next to the "Time Remap" property. Boom, your first control point is set.
Next, find the moment where you want the high-speed action to end and go back to normal. Move your marker there and add another keyframe. You should now have four keyframes in total: the original start, the start of your speed-up, the end of your speed-up, and the original end. This four-keyframe setup is the secret recipe for almost any speed ramp you'll ever make.
These tricks are awesome when you're learning how to make a video intro, because they grab your viewer's attention right from the start.
Step 3: Bend Time!
Now for the fun part. The space between your keyframes on the timeline controls the speed. To make the part between your two new keyframes play faster, you just have to drag the second one closer to the first. You're literally squishing that chunk of time, forcing After Effects to play all those frames back at a super-fast pace.
Want slow motion instead? You’d do the opposite—drag the keyframes further apart to stretch the time out. For our speed ramp, grab that third keyframe and slide it much closer to the second one. You’ve just told After Effects to play normally, blast through the middle part, and then chill out back to normal.
This infographic gives you a great visual of what's happening.

You can see how the video goes from slow, to fast, and back to normal again. It’s all about controlling how you move between different speeds to make things feel more exciting.
Step 4: Make It Smooth with the Graph Editor
If you hit play now, the speed changes will probably feel pretty jerky and sudden. It’s a hard jump from normal to fast. To get that silky-smooth, cinematic feel, we need to visit an editor's best friend: the Graph Editor.
With your "Time Remap" property selected, click the Graph Editor icon (it looks like a little line chart). What you're seeing is a picture of your clip's speed. Right now, it probably looks like a bunch of sharp, blocky steps. We're going to smooth those out.
Pro Tip: Don't skip this part! The Graph Editor is the secret ingredient that separates amateur-looking effects from professional ones. It gives you total control over how smoothly the speed changes.
Select the two middle keyframes you added. You can either right-click and choose Keyframe Assistant > Easy Ease, or just hit the F9 key. Instantly, those sharp corners on your graph will turn into nice, gentle curves.
These are called Bezier curves, and they have little yellow handles you can pull to change the shape of the curve. By dragging these handles, you can decide if the speed change happens gradually or all at once. For a really punchy ramp, try pulling the handles to create a steep, tall peak in the graph. This will make the video accelerate like a rocket and then slow down just as smoothly.
Keep playing with these handles and watching the preview until the motion feels just right. And that's it—you've just built your first awesome-looking speed ramp!
You did it! You nailed your first speed ramp. But then you try to slow your footage way, way down, and it looks all choppy and weird. Don't worry, this happens to everyone. You're basically asking After Effects to show you frames that don't actually exist in your original video.
Luckily, After Effects has a couple of magic tricks to fix this. This is where you go from just messing with time to actually creating it. Let's talk about Frame Blending and Optical Flow—two amazing ways to get that buttery-smooth slow motion.
Frame Blending: For a Cool, Ghostly Look
Frame Blending is the simpler of the two tricks. When you slow footage down, instead of just showing the same frame twice (which causes that jerky look), Frame Blending kind of dissolves between them. The result is a soft, almost ghost-like effect. It can be a really cool artistic choice, especially for videos with a lot of fast movement.
Imagine a dancer spinning. With Frame Blending on, you’d see a graceful, blurry trail of their movement instead of a stuttering mess. It's as much a creative tool as it is a problem-solver.
Here's how to turn it on:
- Look for the switches at the bottom of your timeline panel. If you don't see them, just press F4 to make them appear.
- On your video layer, look for an icon with two overlapping film frames. Click the box right under it.
- Finally, click the main Frame Blending button for the whole project—it’s the same icon, just sitting above your layers—to turn the effect on.
This trick is fast and perfect for adding a bit of artistic flair. But if you want slow motion that looks perfectly real, you need to bring out the big guns.
Optical Flow: The Secret to Insanely Smooth Video
This is where After Effects gets really mind-blowing. Optical Flow (which you'll find listed as "Pixel Motion") is a total game-changer. Instead of just blending frames together, it actually studies the movement in your video and creates brand new frames from scratch to fill in the gaps.
Think of it like a tiny robot artist living in your computer. It looks at Frame 1 and Frame 2, figures out how everything moved, and then paints a brand new "Frame 1.5" to fit perfectly in between. The result can be ridiculously smooth slow motion, even if you’ve stretched a clip to be super, super slow.
Optical Flow is what the pros use for high-quality, cinematic slow-motion. It’s the magic behind those impossibly fluid shots you see in movies, nature documentaries, and big-budget commercials.
And it’s surprisingly easy to use:
- Just right-click your layer in the timeline.
- Go to Frame Blending > Pixel Motion.
And you're done. You’ve told After Effects to start creating those new frames. Just a heads-up: this process is a major workout for your computer, so it will take longer to render your video. But for that flawless, professional look, it’s almost always worth the wait. In fact, mastering advanced timing tools is a key skill; learning how to create cinematic style intros often depends on getting this right.
Which One Should I Use?
So, when should you use Frame Blending and when should you use Optical Flow? It all comes down to what you’re working with and the final look you want. This quick table should help you decide.
| Method | Best For | Pros | Cons |
|---|---|---|---|
| Frame Mix | Dreamy motion blur, fast-moving action shots. | Fast to render, adds a cool, ghosting effect. | Can look blurry, not super realistic. |
| Pixel Motion | Making ultra-smooth, realistic slow motion. | Creates new frames for amazing smoothness. | Very slow to render, can sometimes create weird glitches. |
| Frame Sampling | Basic speed changes with no fancy effects. | It's the default, no extra computer work. | Creates choppy, stuttering slow motion. |
For most serious After Effects time remapping projects where you want the best possible quality, Pixel Motion (Optical Flow) is the clear winner. It's the tool that will make your videos look truly great.
Automate Time Effects with Expressions
So far, we've been placing every keyframe by hand. That's great for specific speed ramps, but what if you need to do something more complex, or you just want to save yourself some time? This is where Expressions come in.
Don't let the word "code" scare you. Expressions are just tiny bits of text that tell After Effects what to do for you. For most of the coolest time effects, you can just copy and paste a magic spell that saves you from hours of boring work.
Expressions open up a whole world of styles that would be a total pain to create manually. They can make perfect loops, create random stutter effects, and give your animations a more natural, dynamic feel.
Creating Perfect, Seamless Loops
Ever tried to make a background animation repeat forever without that awkward "jump" at the end? Trying to copy and paste keyframes over and over is frustrating and rarely looks right. For this, the loopOut() expression is your new best friend.
Let's say you've animated a short, two-second clip—maybe some clouds floating by. You need it to repeat perfectly for your entire one-minute video. With an expression, this takes about five seconds.
- First, turn on Time Remapping for your layer (
Ctrl+Alt+Ton Windows orCmd+Option+Ton Mac). - Next, hold down the Alt key (or Option on Mac) and click the little stopwatch icon next to the Time Remap property. A text box will appear.
- In that text box, just type:
loopOut()
And that’s it. Seriously. After Effects will now perfectly repeat the animation between your first and last keyframes forever. It's a must-know trick for animated backgrounds, GIFs, or anything that needs to run on a loop. It's especially useful when building custom intros. For more ideas on crafting great openings, take a look at our guide on creating a Disney intro with an After Effects template.
Key Takeaway: The
loopOut()expression is your go-to for anything that needs to repeat. It saves you tons of time and gives you a perfect, seamless loop every single time. It's one of the most useful expressions in all of After Effects for a reason.
Adding Glitch Effects with Wiggle
Ready for something a little more wild? The wiggle() expression is famous for adding random, natural-looking movement to things. But when you use it on After Effects time remapping, something totally different happens. Instead of smooth motion, you get crazy, random jumps in time.
This is the secret to creating awesome glitch effects and chaotic stutters. It forces the video to jump forward and backward randomly, which is a powerful look for music videos, futuristic animations, or even horror movies.
The expression is super simple: wiggle(frequency, amplitude)
- Frequency is how many times per second you want the "wiggle" or jump to happen.
- Amplitude is how far in time it's allowed to jump.
For example, if you Alt-click the Time Remap stopwatch and type wiggle(5, 0.5), you'll get five small time-jumps every second, creating a subtle glitch effect. Want something crazier? Try wiggle(2, 2). This will cause two massive jumps per second, making the video look like it’s totally broken. It's a fantastic way to add a unique, jarring style to your video that would be nearly impossible to create by hand.
Creative Ways to Use Time Remapping
Knowing how the tools work is great, but using them to create something awesome is the real goal. So, how do the pros actually use After Effects time remapping in their projects? Let’s look at some creative, real-world examples you can start using today.
These are the kinds of tricks that make for exciting, eye-catching videos.

The Epic Logo Reveal
We've all seen this a million times. A logo flies onto the screen at lightning speed, looks like it's about to crash into you, and then suddenly slows to a gentle, graceful stop. This fast-to-slow effect is a classic for a reason—it feels powerful and looks super polished.
To do this, you actually work backward. First, place a keyframe where you want the logo to be perfectly still at the end. Then, go back in time about one second and drop another keyframe. Now, open the Graph Editor and pull the handles on that second keyframe to create a super steep curve that quickly flattens out. This creates a dramatic slowdown that feels incredibly smooth.
This simple effect can make any brand feel more exciting. If you want these kinds of powerful visuals without all the hard work, a movie-style intros creator can be a great shortcut, as they often use these exact techniques in pre-made templates.
Highlighting Big Moments with Slow Motion
Time remapping isn't just for flashy action scenes; it’s a killer storytelling tool. Imagine a scene where a character gets some shocking news. You can use a subtle speed change to slow the world down around them, putting all the focus on their reaction and the importance of the moment. The key is to make it almost unnoticeable.
Instead of a sudden, jarring slowdown, use the Graph Editor to create a very long, gentle curve. Start slowing down just before the key moment and then gently speed back up to normal afterward. This technique pulls your audience right into the character's head, making the scene way more powerful.
Syncing Animation to Music
Trying to time a bunch of different animations to a song can be a total nightmare. Time remapping, especially when used on a pre-comp (a group of layers), gives you a much smarter way to do it.
Here's a workflow the pros use all the time:
- First, create your whole animation inside a pre-comp, just at a normal, steady speed.
- Then, bring that pre-comp into your main project and turn on time remapping for it.
- Listen to your music and drop time remap keyframes on the major beats—like a kick drum, a snare hit, or an important lyric.
- Now, you just have to slide those few keyframes around to make your animation hit those beats perfectly. You can speed it up between the hits or slow it way down for a dramatic pause.
By remapping a whole group of animations at once, you’re no longer fighting with dozens of individual keyframes. You’re just moving a few keyframes around, which gives you a crazy amount of control with way less work.
This method is so powerful because it separates what is happening from when it's happening.
Creating a "Living" Time-Lapse
Here’s a cool, outside-the-box idea. You can use time remapping to mix a time-lapse right into a regular video clip. Imagine a shot of a busy city street. For five seconds, everything moves normally. Then for the next three seconds, the cars and people zip by in a super-fast time-lapse before everything returns to normal speed.
You can do this by aggressively squishing a section of your time remap keyframes really close together. The result is a super dynamic shot that blends two different speeds of time into one video, creating a surreal and visually amazing effect.
And these tricks aren't just for show; they actually work. One study found that TV commercials using time remapping had a 33% higher recall rate from viewers. Online, videos that use speed ramps or freeze frames have seen up to a 28% increase in average watch time. Dynamic time effects really do keep people watching.
Common Questions About Time Remapping
Even when you think you've got a new skill down, a few questions always pop up. When it comes to time remapping in After Effects, you're not alone. Let's clear up some of the most common problems so you can get back to creating.
Why Does My Slow Motion Footage Look So Choppy?
This is the #1 problem everyone faces. You slow a clip down to 25% speed, and suddenly it’s a stuttering mess. The reason is simple: you’re asking After Effects to show you frames that don't exist in the original video.
The best way to fix this is by turning on Optical Flow. This smart feature analyzes the movement in your video and creates brand new frames to fill in the gaps, making everything look smooth.
Here’s how to turn it on:
- Right-click your video layer in the timeline.
- Hover over Frame Blending.
- Choose Pixel Motion (this is what Adobe calls Optical Flow).
But don't forget the last step! You also have to click the main Frame Blending switch for the entire project—it’s the icon above your layers that looks like two overlapping film frames. Once that's on, you'll see incredibly smooth slow-motion.
Can I Use Time Remapping on a Group of Layers (a Pre-comp)?
Yes, you absolutely can! And it's an amazing way to handle complex animations. When you use time remapping on a pre-comp, you can control the speed of everything inside it with just a few keyframes.
There is one important step to make sure it works right. After you turn on time remapping, you need to tell After Effects to pay attention to the animation inside the pre-comp. Just right-click the pre-comp layer, go to Time, and make sure Enable Time Remapping is checked. This ensures the animation inside plays back perfectly without any glitches.
How Do I Play a Clip in Reverse?
This is where time remapping is way better than the basic "reverse layer" option.
First, enable Time Remapping on your clip. After Effects will automatically put a keyframe at the start and end. To play the whole clip backward, just swap them! Drag the last keyframe all the way to the beginning and move the first keyframe to the end. That's all it takes.
The real fun comes from mixing it up. You could have a clip play forward, suddenly reverse for a second, and then continue forward again—all by just arranging your keyframes in the order you want things to happen.
Time Remapping vs. Time Stretching: What's the Difference?
It’s easy to mix these two up, but they’re for very different things.
Think of it this way: Time Stretching is a sledgehammer, and Time Remapping is a scalpel. They both change time, but one is for big, simple changes and the other is for precise, detailed work.
Time Stretching applies one single speed change to your whole clip. You set it to be "200% faster" or "50% slower," and it stays that way from start to finish. It’s perfect for quick, easy adjustments.
Time Remapping, on the other hand, is all about change. It uses keyframes to let you change the speed within the same clip. You can go from slow motion to fast-forward and even to a total freeze-frame, all on the same video layer. Stick with Time Stretch for basic tweaks, but for any creative, cool-looking speed effect, Time Remapping is the tool you need.
Ready to elevate your videos with stunning, professional visuals without the steep learning curve? At Priyansh Animations, we create custom, high-quality intros that make your content stand out. Explore our catalogue of templates and get your project started today!